Comments:
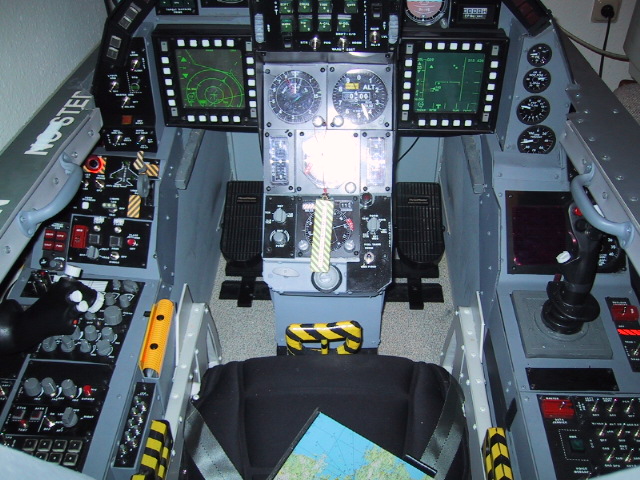
Functional ICP and MFDs are just a MUST, as the simulations get upgraded and lots of controls are activated. If you want
to fly a simulation with a certain degree of accuracy, you do not have the time to be "typing" on your Keyboard instead
of flying your bird. I would not like to return to Sim Ver.0.0 where I was all the time busy typing instead of getting
rid of the bandid on my six. - Sounds familliar to you also?? - ;)
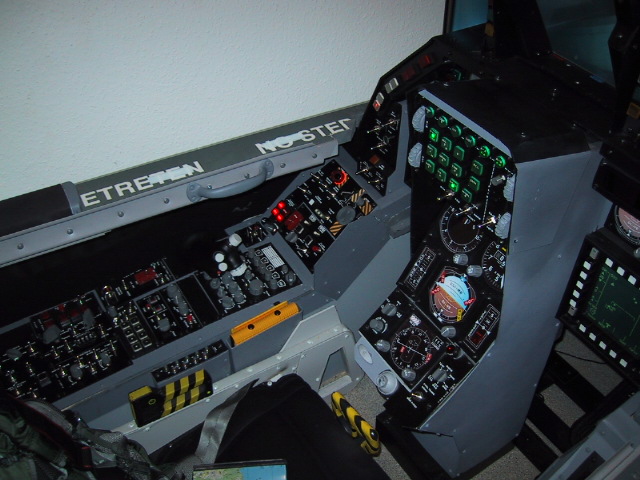
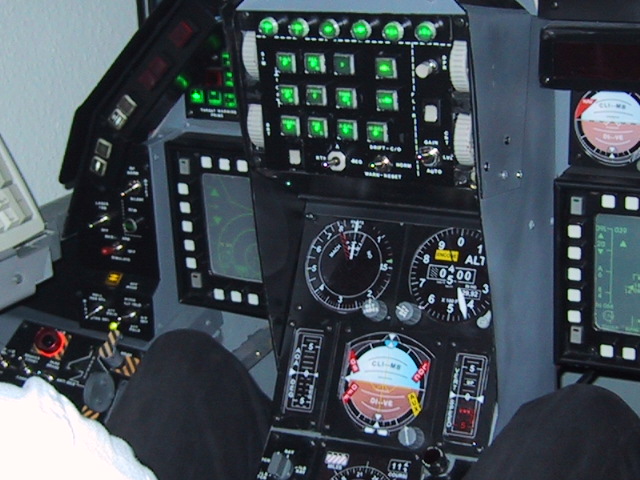
As mentioned before: rockers, buttons, switches and wheels are active.
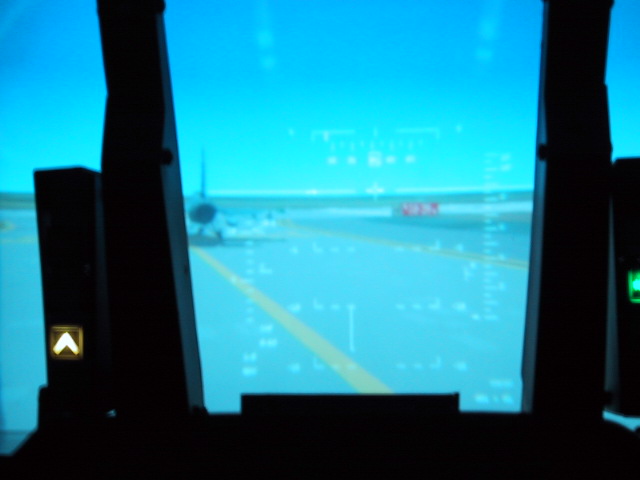
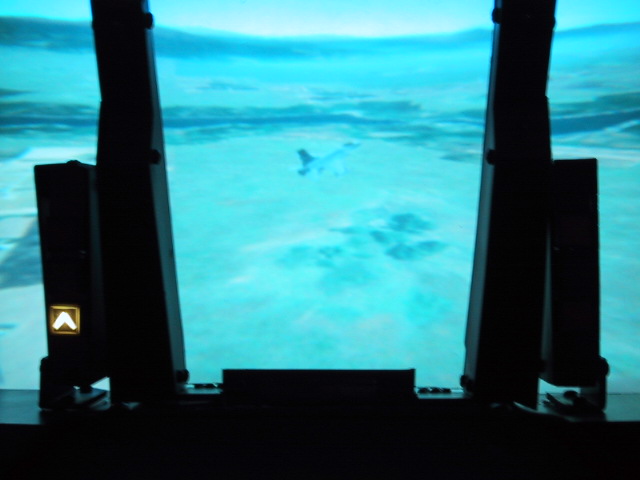
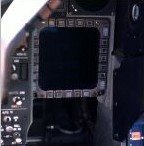
The HUD projection (upper right picture) you can see above is achieved by using 2 Fresnels. It looks quite clear, but
having a closer look, you will notice that the display is a little blurred.
Using one Fresnel you obtain a screen magnification, but sharpness is lower. If you use 2 Fresnel (as I did to have
a 1:1 magnification) it will get even less sharp. Well I could live with it, as the data on the HUD is big enough.
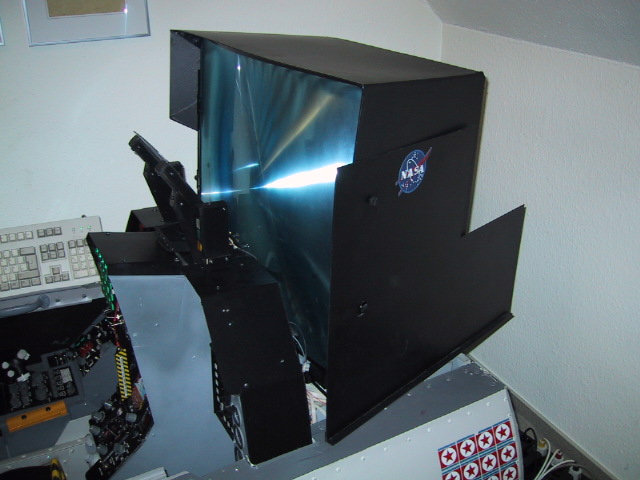
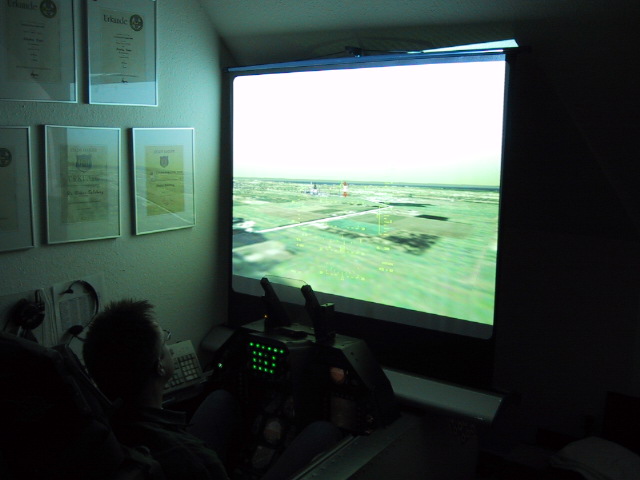
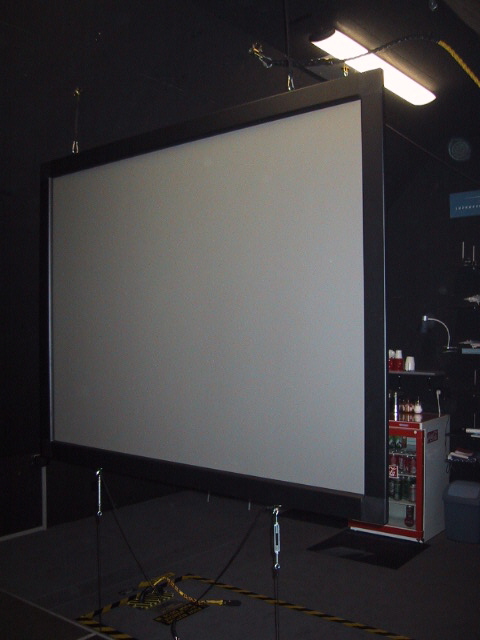
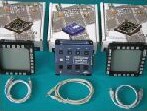
The last 3 pics show you what displays I have used. Fresnel lenses and a Hood to minimize reflections, then a small
screen and a projector (it is in use right now) and the big screen, which is located in Area 51 and will be used,
as soon I move my bird up there.
August 2003 looks like the key date for the further developement of my sim. ver. 3.0.
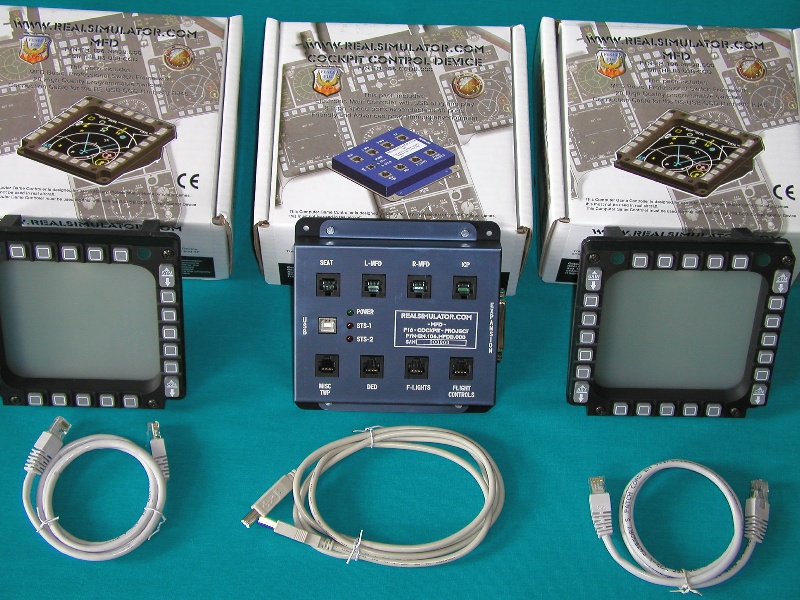
After the Beta-Phase has been completed successfully, RealSimulator is providing the so long expected MFDs. One
special feature is that they are powered via USB, look 100% like the real thing and can be programmed as wanted.
These facts made them just perfect for my project, as I have mentioned before, this sim should be really high
fidelity, and therefore no tolerance for differences will be allowed this time.
The parts are "plug & play" which makes electronics quite easier, as no more welding, wiring, etc. is required.
|
Sim.Ver.3.0 - high fidelity parts
|
MFDs and CCD
|
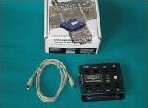
CCD USB Device
|
MFD + Connection cable
|
|
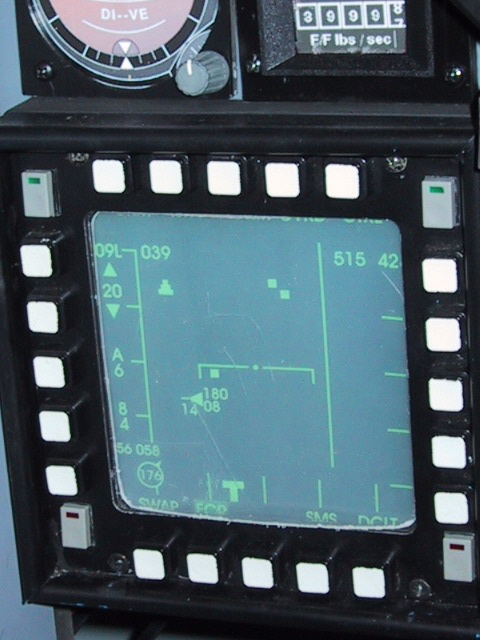
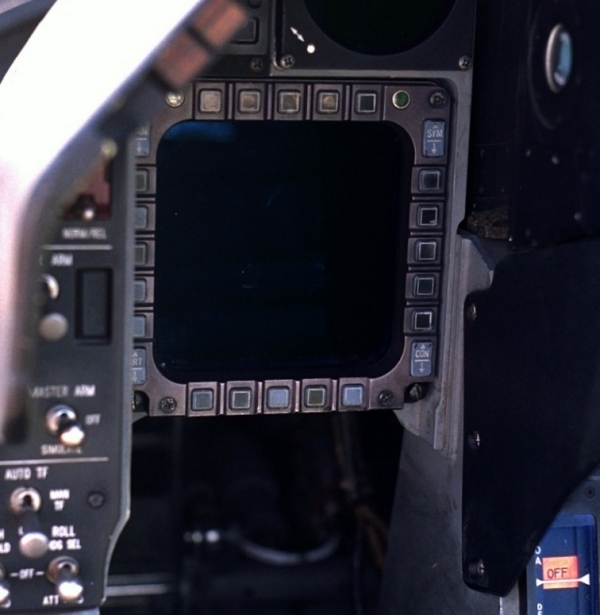
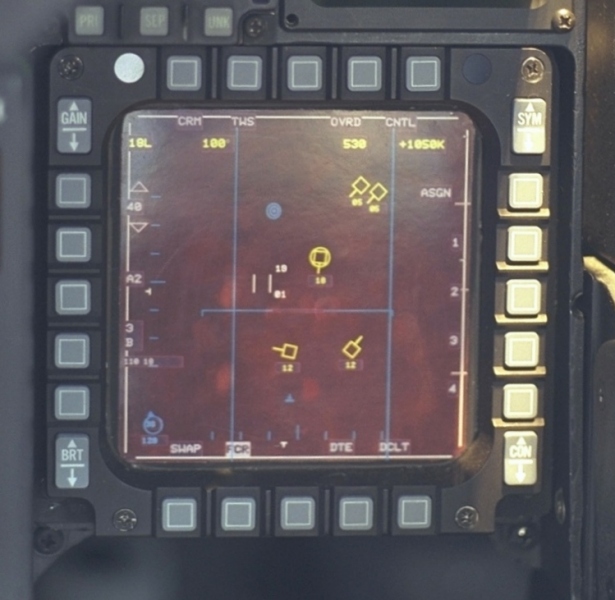
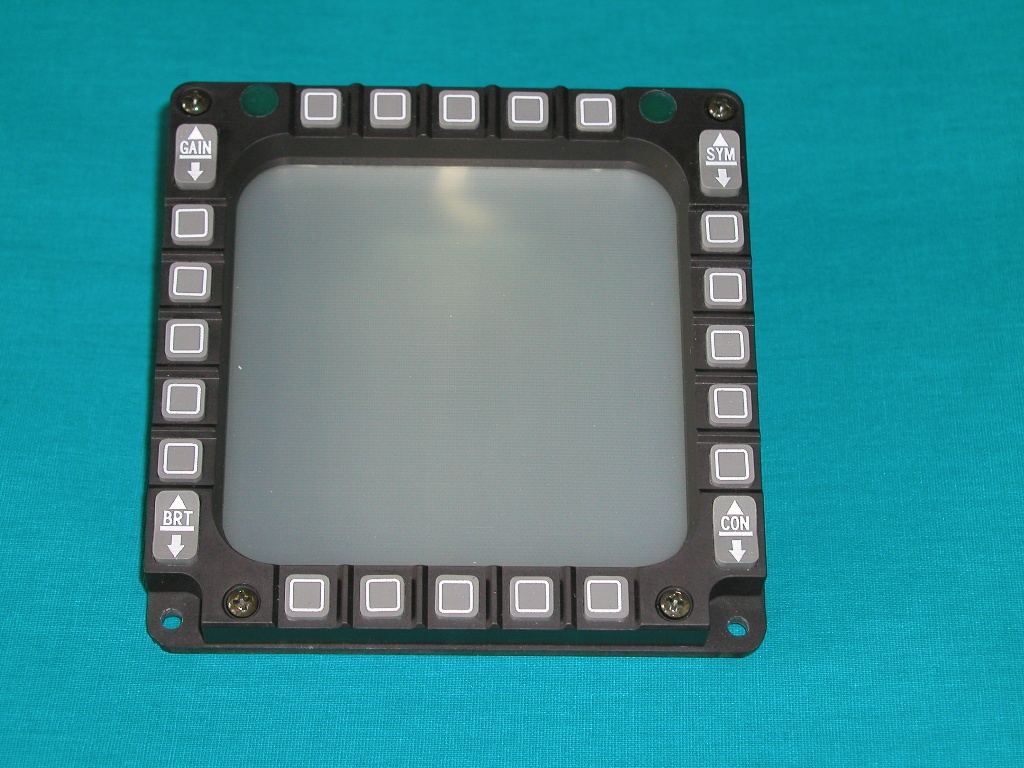
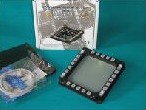
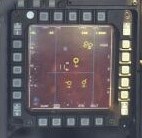
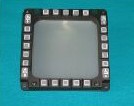
Just in order to show what I do understand under "high fidelity" I show two pictures taken of the
real MFDs. One
picture shows how it looks after having been used for a longer time, the other picture another real MFD in some better
condition. Do not look at scratches and paint peel-off, the inportant fact is the total appearence, form, button
arrangement, rockers, etc. The third pic shows one of my MFDs, which of course is still brand new.
Notice the accuracy, and by the way, once connected they work perfectly. ;)
For now the screen is just a fake, but they are upgradable, and as soon as RS (RealSimulator) has the TFT and the required
information for generating the screen images can be extracted from the source-code of Falcon 4.0, the complete MFD
will become 100% operational. For now we have to be patient, but I am sure, it will not take too long to get there.
|
Sim.Ver.3.0 - Real MFD vs. Sim MFD.
|
Used MFD
|
Real MFD
|
Sim. MFD
|
|
Perhaps you have noticed, that therefore is a very small difference between the original MFDs and the simulated MFDs.....
the simulated MFDs have two green lights, located at the left and right upper corners. The original MFDs have
brightness sensors installed at these places, in order to adjust the brightness of the display during the flight. In a
simulator, you will not experience these differences of light, as you are not moving, and therefore these sensors are
not required in a simulator. However, the space was used to install LEDs, which can be very usefull to us. Besides showing
which layer of the MFD is in use, the LEDs can also be used as Landing Gear Indicator lights, AOA Indexer Lights, etc.
It all depends on your own phantasy, how to use them.
Note:
To zoom please select the picture with your mouse.